You've got a folder of clips from a phone, a webcam and a client's shared drive, and at least one of them is wrong. The selfie footage reads backwards, the logo on the title card is mirrored, or a batch of phone clips arrived rotated 90 degrees because nobody locked the orientation. You need a fix that behaves the same way on one file and on four hundred.
Flipping video is one of the few jobs where a single filter does the whole thing in seconds, and where reaching for the wrong filter doubles the work. The pressure to produce more variants isn't going away: HubSpot and Wistia reported that 89% of consumers in 2024 wanted to see more videos from brands (HubSpot). More video means more platforms, more aspect ratios and more chances for orientation to go wrong before anything ships.
Table of Contents
- Flip a Video with One FFmpeg Command
- Choosing the Right Transform
- Flip in an Editor Without Code
- Flip One Clip Step by Step and Verify It
- Keep Quality and Compatibility After Flipping
- Batch Flip Videos and Track Each Job
Flip a Video with One FFmpeg Command
Mirroring a clip left to right takes one filter and one line:
ffmpeg -i input.mp4 -vf hflip -c:a copy output.mp4
The -vf hflip swaps each frame's left and right sides. -c:a copy passes the audio stream through untouched, so the soundtrack is copied rather than re-encoded while the video is decoded and rendered again. Change hflip to vflip and you flip top to bottom instead, which is the fix for a camera mounted upside down on a rig or gimbal.
Filter choice is the only real decision. Match the footage problem to the filter:
| Filter | What It Changes | Typical Use |
|---|---|---|
hflip |
Mirrors each frame left to right | Fixes mirrored selfie or webcam footage and reversed text |
vflip |
Mirrors each frame top to bottom | Fixes footage captured with an inverted camera mount |
transpose=1 |
Rotates 90 degrees clockwise | Fixes phone video shot sideways |
transpose=2 |
Rotates 90 degrees counterclockwise | Fixes sideways footage rotated the other way |
transpose=3 |
Rotates 90 degrees clockwise and flips vertically | Fixes rotated footage that also needs a vertical mirror |
hflip,vflip |
Rotates 180 degrees | Fixes upside-down footage |
A flip keeps the resolution, duration, frame rate and audio of the source. Nothing is cropped, nothing is padded, and the file length doesn't move. That's the property that makes flip filters safe to apply inside a pipeline where downstream steps expect a fixed frame size.
Chain Filters Inside One Argument
Filters compose left to right inside a single -vf argument, separated by commas. -vf "transpose=1,hflip" rotates a sideways clip upright and then mirrors it. Keep the quotes, because an unquoted comma tells the shell to start a new command and the filter chain gets truncated without an obvious error.
Run the command on a 10-second cut of the clip before touching the full set. Play that test file on a phone, in a browser and in your editor. If the mirror went the wrong way or the rotation landed the subject on their head, you've lost ten seconds instead of an afternoon of batch time.
Choosing the Right Transform
A flip never changes the shape of the frame. Standard video runs at 16:9, such as 1920×1080 pixels, and vertical video runs at 9:16, such as 1080×1920 pixels, and reversing a frame left to right won't convert one into the other, as ContentCam's comparison of vertical and horizontal video sets out. Portrait delivery means a flip plus a separate crop, pad or scale.
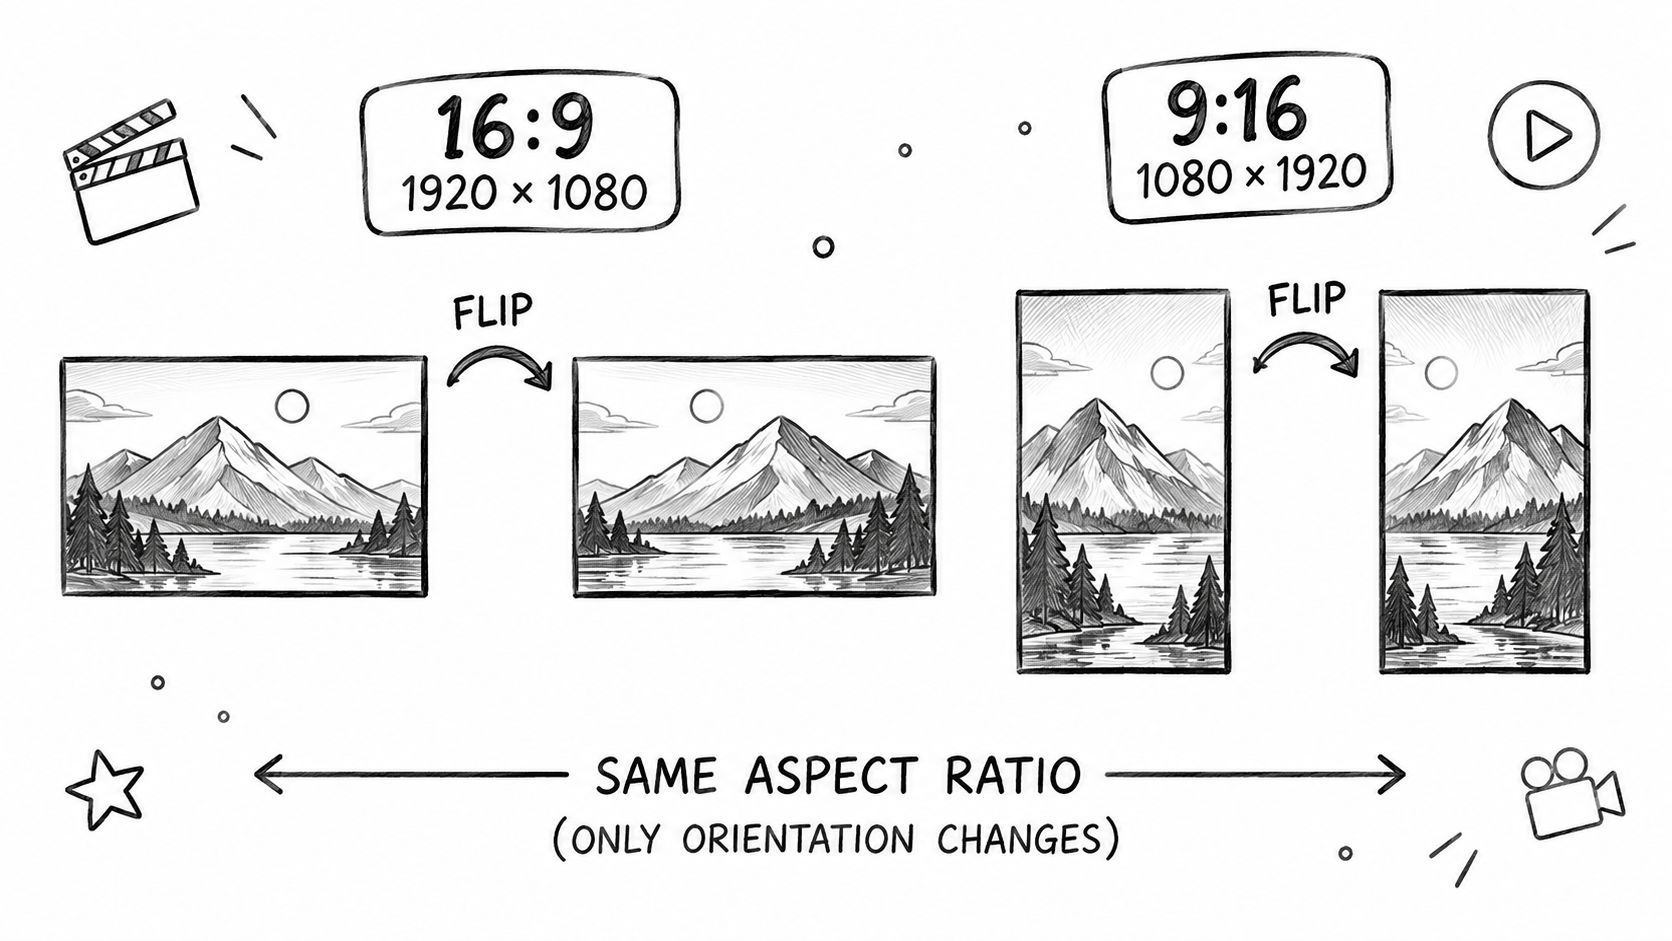
So work from the symptom, not the filename. Each problem has one filter that solves it:
- Mirrored selfie or webcam footage needs
hflip. Front cameras reverse the scene, so your subject's parting, their wedding ring and the word on their shirt all read backwards. - Reversed text or a flipped logo on a title card takes
hfliptoo, applied to the card as its own render rather than to the whole timeline. - Phone video shot sideways takes
transpose=1ortranspose=2, decided by which way the top of the frame points. Guess wrong and you get an upside-down clip that plays perfectly. - Footage mounted upside down, common on car mounts and overhead rigs, takes
hflip,vflipor a single 180 degree turn. - Mirrored variants for creative testing take
hflipwith every other setting identical to the original, so the mirror is the only variable in the test. - Wide-format footage that must become vertical needs a crop or pad after the flip. A flip alone leaves you with a mirrored wide-format file.
The habit that saves the most time is checking the player before the encoder. Filenames lie: a clip called IMG_4402_rotated.mp4 may already be upright, and final_vertical.mp4 may be a horizontal file carrying an orientation flag. Some 90 degree rotations exist as a display-orientation flag rather than baked pixels, so if the player shows the clip upright and only the presentation needs to change, you may not need a render at all. Mirroring never has that escape hatch, which is why rotating a video is a separate operation from flipping one, with its own quality trade-off.
Here's the difference in practice, on two clips that look identical in a file browser:
Flip in an Editor Without Code
Not every flip deserves a terminal. For one file on a deadline, an editor is faster, and the export lands in the same H.264 you'd get from a well-set command. The steps are short in each app:
- Adobe Premiere Pro: open Video Effects, find Transform, drag Horizontal Flip or Vertical Flip onto the clip, then export from that sequence.
- DaVinci Resolve: select the clip, open the Inspector, expand Transform and use the flip buttons before adding it to the render queue.
- QuickTime Player on macOS: use Flip Horizontal or Flip Vertical from the Edit or Tools menu, then File > Export.
- Photos app on a phone: use the rotate control for sideways footage. A flip won't straighten a horizon.
Menu labels move between versions, so check the current wording rather than trusting an old tutorial screenshot. Export settings should mirror the source: keep the original resolution and frame rate, choose H.264 in an MP4 container, and export from the original master rather than from a copy you already flipped once.
Convenience has real value at low volume. Adobe Express research reported in 2024 that 70% of 517 small-business owners had repurposed content, with 54% saying repurposing saved valuable time (MarketingProfs). The moment the same flip is needed on fifty files, though, clicking through a Transform panel fifty times stops being the cheap option.
Flip One Clip Step by Step and Verify It
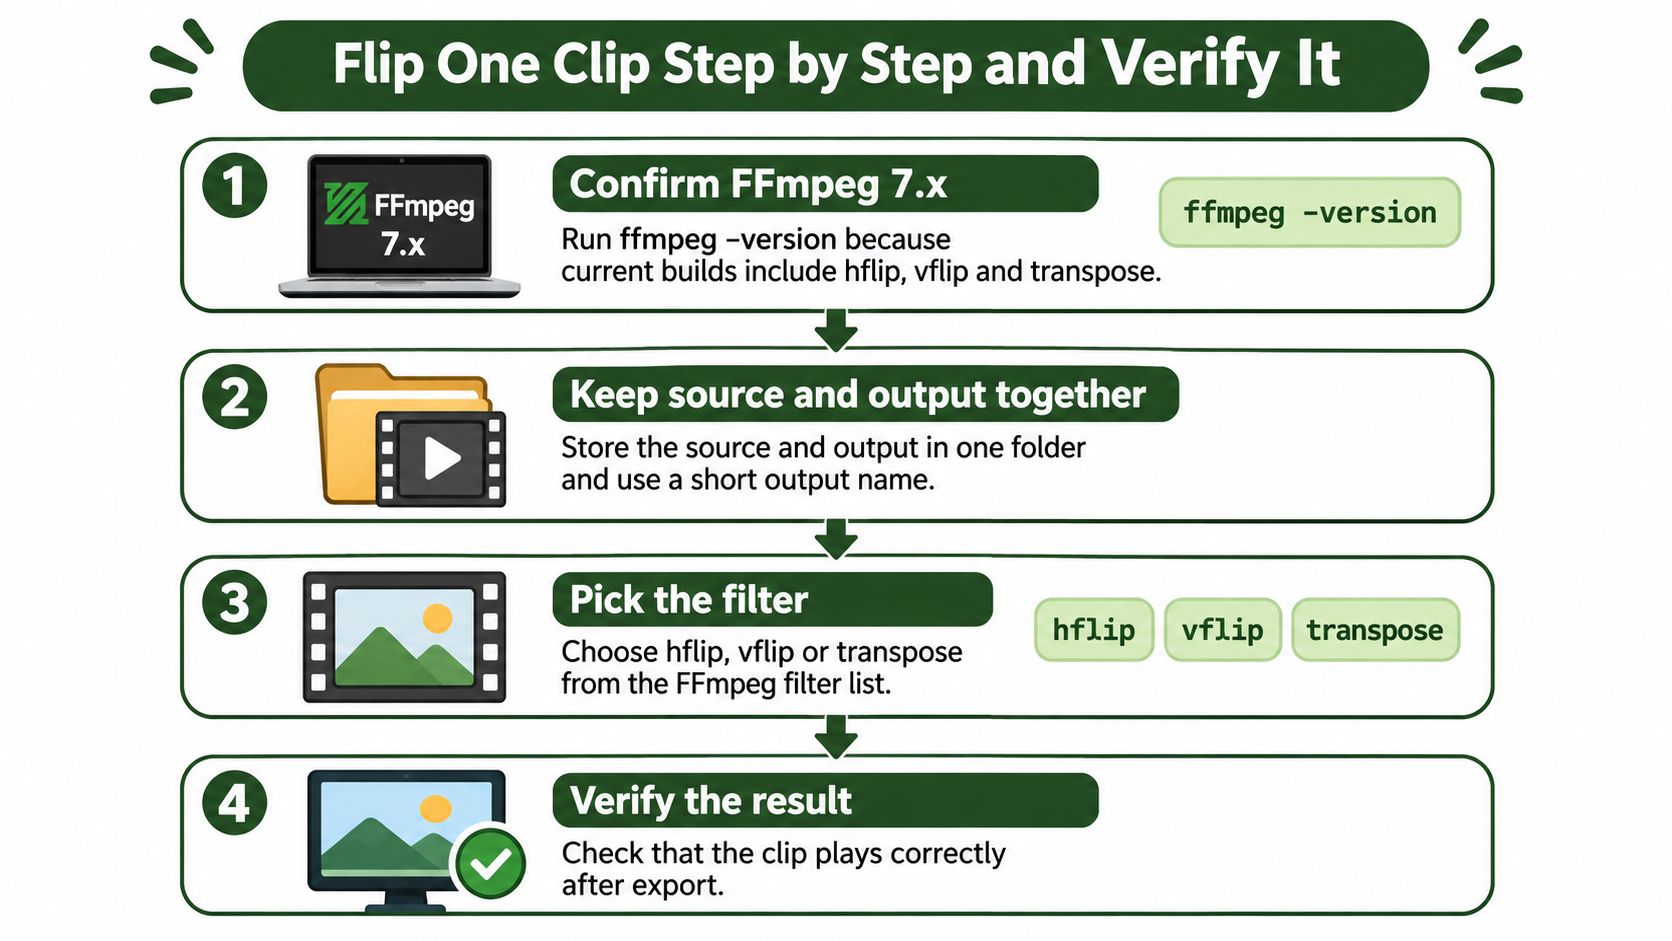
Treat the first clip as a rehearsal. Work through these moves in order and the batch that follows won't surprise you.
- Confirm the build. Run
ffmpeg -versionand read the first line. FFmpeg 7.x shipshflip,vflipandtransposein standard builds, so a filter that suddenly doesn't exist usually points to an ancient static binary or a distribution package compiled without it. Fix that before debugging your command. - Keep source and output in one folder and give the output a short, obvious name such as
test_flipped.mp4. Files scattered across two directories are how people end up flipping a file twice. - Pick the filter from the symptom table, then add it with
-vf. Chains go in quotes:-vf "transpose=1,hflip". - Encode deliberately with
-c:v libx264 -crf 22 -pix_fmt yuv420p. A flip rewrites every frame, so there's no stream-copy shortcut for the video side no matter how simple the change looks. - Copy the audio with
-c:a copyso the sound isn't compressed twice for no reason.
The full command for a mirrored clip reads:
ffmpeg -i input.mp4 -vf hflip -c:v libx264 -crf 22 -pix_fmt yuv420p -c:a copy output.mp4
Run the Verification Checklist Before the Batch
Play the output in a phone player, a desktop browser and your editor, because those three disagree more often than you'd expect. Then check the specifics:
- Text direction. After a mirror, on-screen text should read normally. If the source had reversed text and the output still does, you flipped the wrong way or the wrong file.
- Subject orientation. Sideways footage should stand upright after a rotation, with heads at the top of the frame.
- Faces and hands. Rings, partings and handedness should match reality in a corrected selfie, and stay deliberately wrong in an A/B mirror variant.
- Lip sync at the start and again near the end, where drift from a variable frame rate source shows up first.
- Duration and frame rate should match the source exactly. A mismatch usually means a filter error or a stream mapping problem, so don't ship that file.
Save the exact command that passed. That string is the reusable artifact: the same flags run unchanged against any FFmpeg 7.x build, and our cheat sheet collects 50+ commands you can drop into the API when you'd rather not maintain the box that runs them.
Practical rule: if the test file fails one check, fix the filter. If it fails duration or sync, fix the command. Never retry a broken command across a batch in the hope that the output improves.
Keep Quality and Compatibility After Flipping
A mirror changes every frame, which means the file must be decoded and encoded again, and every re-encode costs some detail. A 90 degree rotation is different: it can sometimes be stored as a display-orientation flag without altering the underlying video data at all, as this comparison of video rotation and flipping explains. That's why a flipped copy can look softer than its source while a rotated copy looks pixel-identical.
The compatibility half matters just as much. Metadata-only orientation gets ignored by older players and by some editors and social upload pipelines, so a clip that looks right on your machine can arrive sideways on someone else's. For anything going out to a delivery platform, bake the transform into the pixels. Mirroring always does that by definition, which makes it the more portable of the two operations.
| Setting | FFmpeg Option | Effect on the Flipped File |
|---|---|---|
| Video encoder | -c:v libx264 |
Widest playback support for H.264 output |
| Quality | -crf 22 |
Lower value gives better quality and a larger file; 22 is a common default |
| Pixel format | -pix_fmt yuv420p |
Plays reliably in browsers and older phones |
| Audio | -c:a copy |
Sound passes through with no second encode |
| Frame rate | -r 30 |
Add only when variable frame rate phone footage drifts out of sync |
| Source file | Flip the original master | Avoids stacking re-encode losses |
Chroma subsampling is the setting people skip. Output 4:4:4 or 4:2:2 from a desktop master and a browser or an older handset may refuse to play it, so yuv420p is the safe target for anything delivery-facing. If you're unsure which codecs your target players accept, this breakdown of video codec support is worth a read before you commit a batch to one profile.
Two habits prevent most quality complaints. First, always flip the original master, never a previously flipped copy, because stacked renders compound generation loss and the second pass buys nothing. Second, watch variable frame rate phone footage, where timestamps from the source and the encoder's assumptions can drift the audio a few hundred milliseconds by the end of a long clip; forcing -r 30 fixes it at the cost of a constant frame rate.
Render once, encode once, and check the result on the weakest player you support. That's a phone from a few years ago, not the machine you're working on.
Batch Flip Videos and Track Each Job
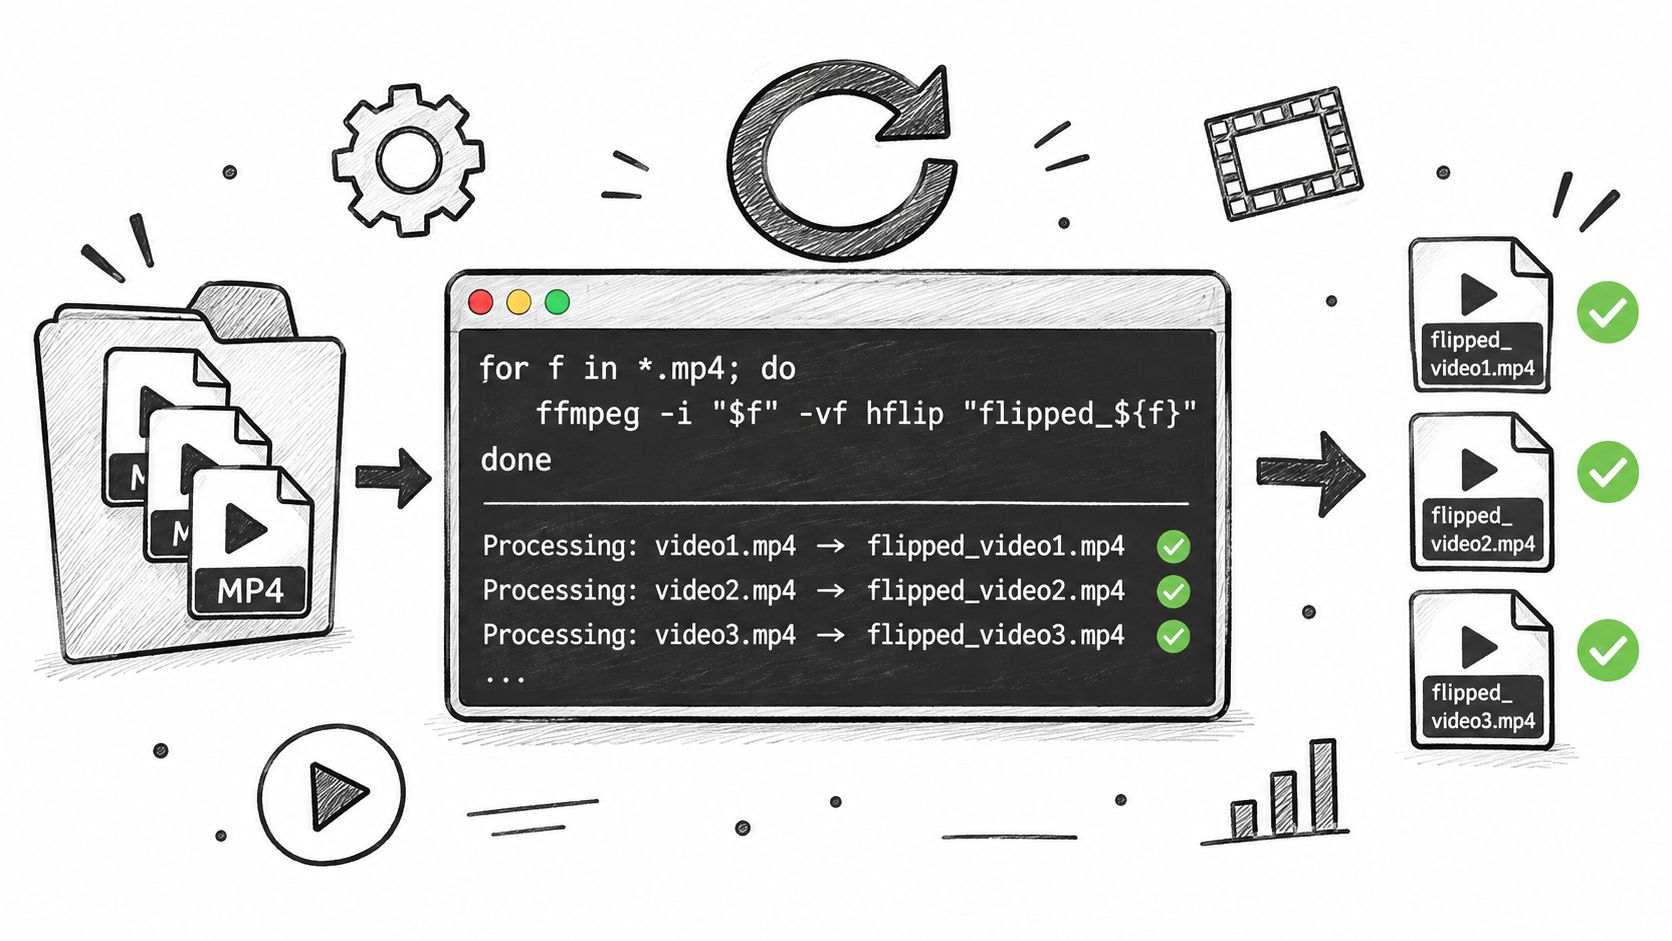
A folder of 200 clips is a loop, not 200 manual exports:
for f in *.mp4; do ffmpeg -i "$f" -vf hflip -c:v libx264 -crf 22 -pix_fmt yuv420p -c:a copy "flipped_$f"; done
The flipped_ prefix stops the loop from overwriting your originals when the glob matches the output files on a second run. On a multi-core machine you can push throughput up with xargs -P 4, but watch memory: each FFmpeg process holds decoded frames in RAM, so four parallel jobs on 4K sources can exhaust a laptop that handles one fine.
Adapting one master into many platform variants is where teams get stuck. A 2024 survey of 423 UK and U.S. content professionals found that adapting content for different platforms was the leading repurposing challenge, cited by 38% of respondents (MarketingProfs). The volume behind that problem is large: Metricool analyzed 5,696,685 short-form videos from 582,456 accounts worldwide in its 2025 report (MarketingTech News). Scripts that work locally stop scaling once the folder is remote, the machine is busy and nobody is watching the terminal.
Move the Same Command to a Job Queue
The loop translates almost line for line into a job request. You send a POST with your FFmpeg command string plus input and output file mappings, so the filter chain you tested locally is the filter chain that runs in production. The service downloads your inputs, runs FFmpeg in an isolated container and uploads the outputs, which removes the machine constraint without changing the syntax.
Track work by job ID. Store each ID next to its filename so a single failed item can be retried alone instead of re-running the whole folder. Poll the job status if you're scripting it, or set a webhook to fire on completion and let the queue tell you when it's done. On the first failure, read the full FFmpeg stderr before retrying anything, because the message names the stream, the filter or the mapping that broke, and a blind retry of 200 files just reproduces the same error 200 times. When you need the loop to survive a restarted laptop and a full disk, batch processing best practices covers the queue design in more detail.
RenderIO runs the exact hflip, vflip and transpose commands on this page through a REST endpoint, so the flag string you just tested on a 10-second clip becomes a batch job without you provisioning a server. Post your command with the input and output mappings, get FFmpeg stderr back when something goes wrong, and retry only the files that failed. Sign up at RenderIO and run your own command against the API to see the output land in your bucket.