Your exported video plays on your laptop, but the same file freezes on a phone or won't start in a browser. You check the properties, see H.264, and wonder what else you were supposed to choose.
H.264 names the codec, not the complete playback specification. Two files labeled H.264 can use different profiles, pixel formats, frame rates, and audio formats. To encode to H.264 reliably with FFmpeg, you need an explicit encoder choice, sensible quality settings, and an output specification your viewers' devices can decode.
Table of Contents
- The Core FFmpeg Command for H.264 Output
- Picking CRF and Preset for Your Target Quality
- Compatibility Settings That Keep Files Playing Everywhere
- How to Encode to H.264 Step by Step
- Troubleshooting Common H.264 Encoding Errors
- Batch Encoding a Folder of Clips
- Choosing H.264 Over HEVC or AV1
The Core FFmpeg Command for H.264 Output
ffmpeg -i input.mov -c:v libx264 -crf 23 -preset medium -c:a aac -b:a 128k output.mp4
This is a useful starting command for an ordinary video conversion. It encodes the video with x264, converts the audio to AAC, and packages both streams in MP4.
-i input.mov names the input file. Quote the path if it contains spaces, for example -i "training session.mov".
-c:v libx264 explicitly selects the software x264 encoder, which produces H.264 video. Don't omit it and trust the output extension, because FFmpeg's default encoder selection can differ between builds and output formats.
What the remaining arguments control
-crf 23 sets a constant-quality target rather than a fixed video bitrate. FFmpeg allocates more data to difficult scenes and less to simpler ones, so the final size isn't predetermined.
-preset medium controls how much encoding work x264 performs to compress the video. -c:a aac re-encodes the audio to AAC, a practical companion for H.264 in MP4, while -b:a 128k sets the audio bitrate.
The .mp4 extension selects the container. It doesn't independently guarantee that the video inside is H.264.
Core flags for an H.264 encode
| Flag | Role | Typical value |
|---|---|---|
-i |
Names the input file | Any readable path |
-c:v libx264 |
Selects the H.264 video encoder | Fixed for this software H.264 workflow |
-crf |
Sets constant quality target | 23 as an initial test |
-preset |
Trades encoding speed for file size | medium by default, faster or slower as needed |
-c:a aac |
Re-encodes audio to AAC | aac for MP4 output |
-b:a |
Sets audio bitrate | 128k as an initial stereo setting |
Add -y to overwrite an existing output without prompting, or -n to refuse overwriting. Neither option changes encoding quality.
For training videos, MEDIAL's practical encoding guide for corporate trainers adds useful LMS delivery context. Before processing a full recording, add -t 30 before the output filename, then check that sample's duration, file size, and readability.
Picking CRF and Preset for Your Target Quality
H.264's appeal starts with compression efficiency. A technical survey published by TÜBİTAK describes up to approximately twice MPEG-2's compression efficiency at comparable visual quality, with CABAC entropy coding offering approximately 5–15% additional bitrate savings compared with simpler entropy-coding approaches.
Those gains require computation. Your practical controls are CRF, which sets the quality target, and preset, which controls the encoder's search effort.
Choose a starting point, then inspect difficult scenes
Lower CRF values retain more detail and usually produce larger files. Higher values discard more information, especially around moving textures, fine text, and grain.
I'd test -crf 18 for a high-quality review copy, -crf 20 for a client deliverable, and -crf 28 only when compact output matters more than fine detail. Keep the original source rather than treating a lossy H.264 export as your archival master.
CRF values and what they produce
| CRF | Expected quality | Size vs CRF 23 | Best for |
|---|---|---|---|
20 |
High, with better fine-detail retention | Usually larger; measure the sample | Client deliverables |
28 |
Visible softening and possible blocking in motion | Usually smaller; no fixed ratio | Low-bandwidth or thumbnail-grade clips |
The preset ladder runs from ultrafast to veryslow. Slower settings generally improve compression efficiency, but they don't guarantee an identical size improvement across different content.
Practical rule: Start with
medium. Spend more encoding time only when repeated delivery or long-term storage makes the savings worthwhile.
Test -tune film, -tune animation, or -tune grain only when the content matches. If texture breaks apart, try lowering CRF by two; if the output is unnecessarily large, raise it incrementally. For size-focused adjustments, use this FFmpeg MP4 compression guide.
Compatibility Settings That Keep Files Playing Everywhere
Selecting libx264 alone doesn't guarantee playback. The Scottstuff video-encoding guide identifies the practical compatibility target as 8-bit, 4:2:0, SDR video, generally up to 1080p, rather than every format the H.264 standard permits.
For a conventional SDR source already within your target dimensions, a compatibility-oriented command is:
ffmpeg -i input.mov -c:v libx264 -crf 23 -preset medium -profile:v high -level:v 4.1 -pix_fmt yuv420p -r 30 -fps_mode cfr -c:a aac -profile:a aac_low -ac 2 -ar 48000 -b:a 128k -movflags +faststart output.mp4
Match the declared limits to the actual stream
-profile:v high enables a practical set of compression tools for modern devices. Baseline is worth considering for specifically identified legacy hardware, not as an automatic quality improvement.
-level:v 4.1 is a conventional choice for 1080p at 30 fps; use an appropriate higher level, such as 4.2, for 1080p at 60 fps. A level flag doesn't resize video or constrain every encoding parameter by itself, so resolution, reference frames, and bitrate limits must also fit the target decoder.
Compatibility settings and where they break
| Setting | Safe value | Breaks when |
|---|---|---|
| Profile | high for most devices; baseline for identified legacy hardware |
An older decoder doesn't support High; baseline also restricts compression tools |
| Level | 4.1 for conventional 1080p30; 4.2 for 1080p60 |
Actual stream requirements exceed the declared level or decoder capability |
| Pixel format | yuv420p |
Higher-bit-depth or chroma formats exceed hardware support |
| Resolution | 1080p or lower for a broad compatibility target | Older endpoints can't decode higher resolutions |
| Frame rate | Constant, such as 30 or 60 | Timestamp handling or downstream tools mishandle variable timing |
| Audio | AAC-LC stereo at 48 kHz | A player rejects the audio codec or channel configuration |
-pix_fmt yuv420p requests the conventional pixel format; it isn't an HDR-to-SDR tone-mapping operation. HDR material needs deliberate color conversion, not just a change in bit depth.
-movflags +faststart moves MP4 metadata toward the beginning for progressive browser playback. For platform-specific delivery, compare ShipTeaser's launch video specs with the destination's requirements, and use this video codec support guide when defining your device matrix.
Validate the actual output with
ffprobe, then play it on a representative iPhone or Android device. A successful encode isn't a successful playback test.
How to Encode to H.264 Step by Step
Inspect before choosing output settings
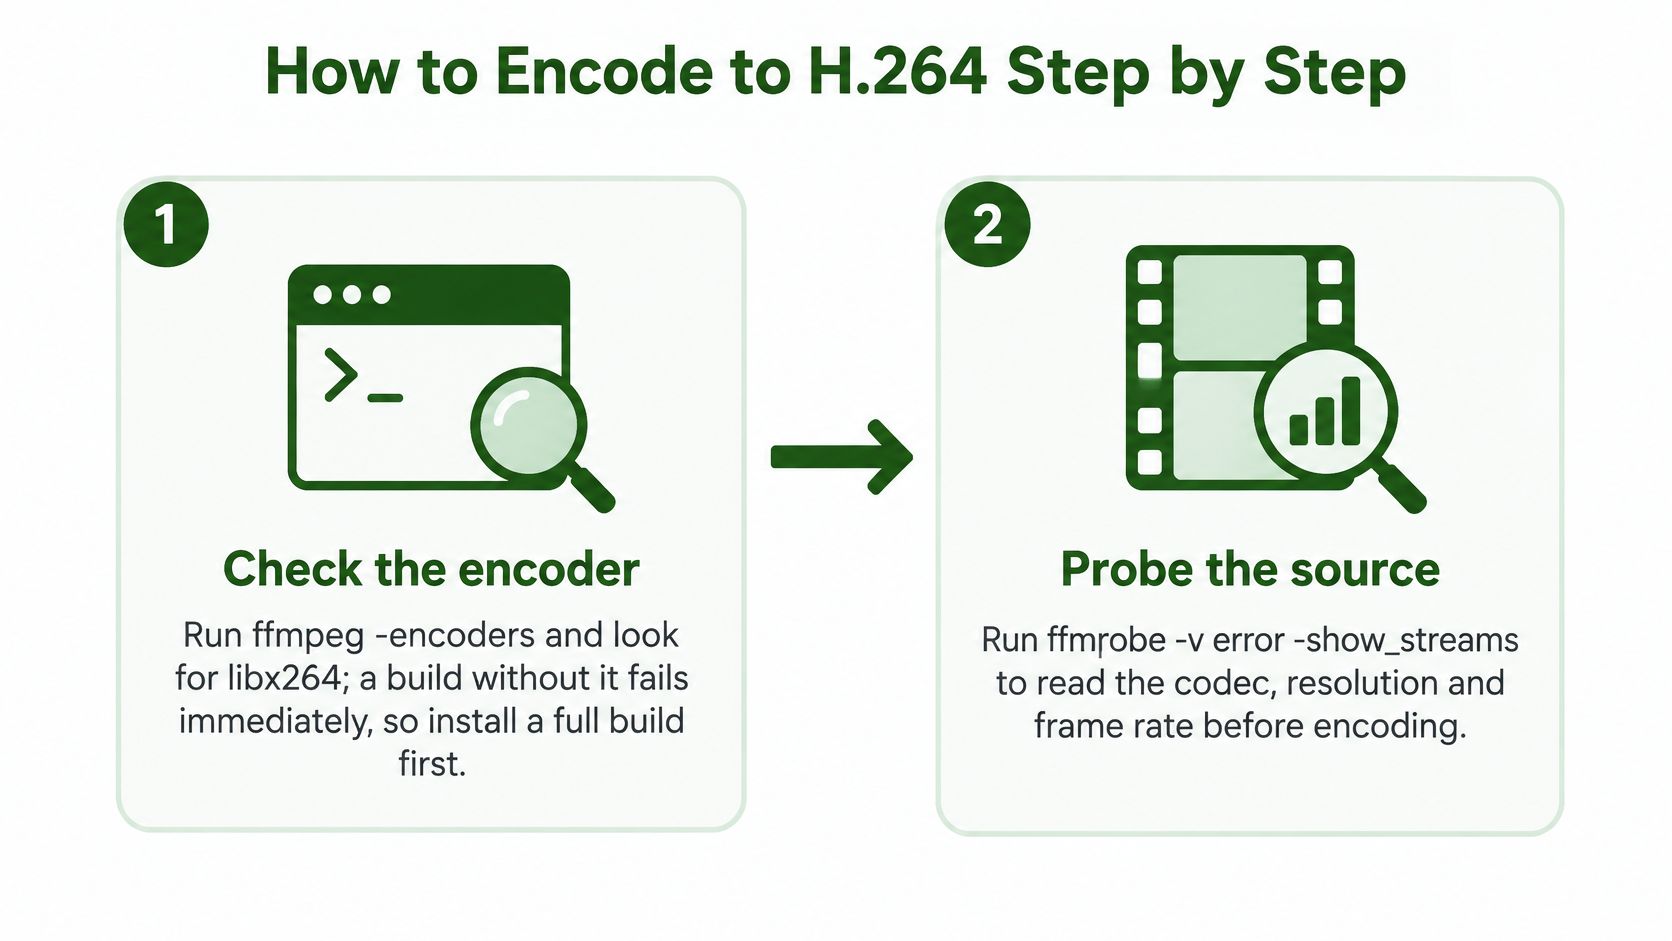
Confirm that x264 is available. Run
ffmpeg -encodersand look forlibx264before launching a job. If it's missing, install a build that includes it; an unknown-encoder failure occurs during setup, not after a completed encode.Run
ffprobe -v error -show_streams -show_format input.movto inspect the video codec, dimensions, pixel format, audio streams, and duration. Comparer_frame_ratewithavg_frame_rateas an initial timing check, but don't treat matching values as proof of constant frame rate; inspect timestamps or use FFmpeg'svfrdetfilter when timing matters.
These preliminary checks establish what the conversion needs to change.
Test, encode, and verify
Choose quality-based or bitrate-based encoding. Use CRF when consistent visual quality matters more than exact output size; use two-pass bitrate encoding when a delivery limit requires tighter size planning. For a hypothetical job targeting
2500kvideo, run the following passes, replacing that bitrate with your calculated budget:First pass:
ffmpeg -y -i input.mov -c:v libx264 -b:v 2500k -pass 1 -an -f null /dev/nullSecond pass:
ffmpeg -i input.mov -c:v libx264 -b:v 2500k -pass 2 -c:a aac -b:a 128k output.mp4Use
NULinstead of/dev/nullon Windows, and keep video filters and encoding settings consistent across both passes.Encode a representative sample. Add
-t 30before the output filename and select footage containing motion, text, shadows, or whatever makes your source difficult. A static title card won't reveal how an encoder handles a fast camera move.Run the full conversion using the settings that passed inspection, removing the sample duration limit. For size-limited delivery, budget separately for audio and container overhead rather than assigning the entire allowance to video.
Probe the result. Run
ffprobe -v error -show_streams -show_format output.mp4and check forcodec_name=h264, the intended profile,pix_fmt=yuv420p, expected dimensions, and a duration consistent with the source. Small timestamp differences can occur, but a materially shortened file needs investigation.Play the output in a browser and on a target phone, checking the beginning, a moving scene, and the ending. Listen for synchronization problems and test seeking, because stream metadata alone won't expose every playback failure.
For automated pipelines, keep each job's command, exit status, and stderr alongside its output metadata. Give simultaneous two-pass jobs separate -passlogfile prefixes so they don't overwrite each other's analysis files.
Troubleshooting Common H.264 Encoding Errors
Read the first meaningful error in FFmpeg's stderr before changing settings. Later messages such as failure to open an output or write a header can be consequences of an earlier encoder or filter problem.
Separate a failed encode from a playback failure. If FFmpeg exits unsuccessfully, inspect configuration and input errors; if it succeeds but a device fails, inspect the resulting stream and the player environment.
H.264 encoding symptoms, causes and fixes
| Symptom | Likely cause | Fix |
|---|---|---|
| Unknown encoder libx264 | FFmpeg build lacks x264 | Install a suitable build and check ffmpeg -encoders |
| Height not divisible by 2 | Odd dimensions with the selected pixel format | Add -vf "scale=trunc(iw/2)*2:trunc(ih/2)*2" |
| Black frames or stutter on iPhone | Unsupported output bit depth or chroma format | Re-encode with -pix_fmt yuv420p, then test |
| Audio drifts after a few minutes | Timing irregularities or incorrect timestamps | Test -fps_mode cfr with an explicit output rate; use -vsync cfr on older builds |
| Output larger than input | Aggressive quality target or an already compressed source | Test a CRF increase of two to four |
| Encode takes hours | Expensive preset on demanding footage | Test -preset faster or veryfast; set -threads when resource limits require it |
| Browser waits before playing | MP4 metadata at the end | Add -movflags +faststart |
Confirm the cause before applying the fix
Odd dimensions are straightforward, but the proposed scaling filter changes the picture slightly. If preserving edge content matters, pad to even dimensions instead of shrinking the frame.
Phone stutter needs more discrimination. Check the output pixel format rather than assuming the source format survived conversion, and investigate excessive resolution, bitrate, or damaged media if the format is already compatible.
Audio drift isn't proof of variable frame rate. Incorrect capture timestamps, discontinuities, and a separate audio clock can also cause it; converting frame cadence won't repair every underlying timing problem.
Change one variable per test and keep the same troublesome sample. Otherwise, you won't know which adjustment solved the failure.
Avoid fixes that create another bottleneck
An explicit thread count is a resource-control tool, not an automatic speed boost. x264's automatic threading is a sensible starting point; limiting threads can help shared servers remain responsive, while excessive parallelism can increase contention.
Likewise, don't keep lowering quality merely because a conversion produced a larger file than its input. If the original is already an efficient, compatible H.264 stream, stream copying into a suitable container may be the better operation, provided you don't need filtering or format changes.
Batch Encoding a Folder of Clips
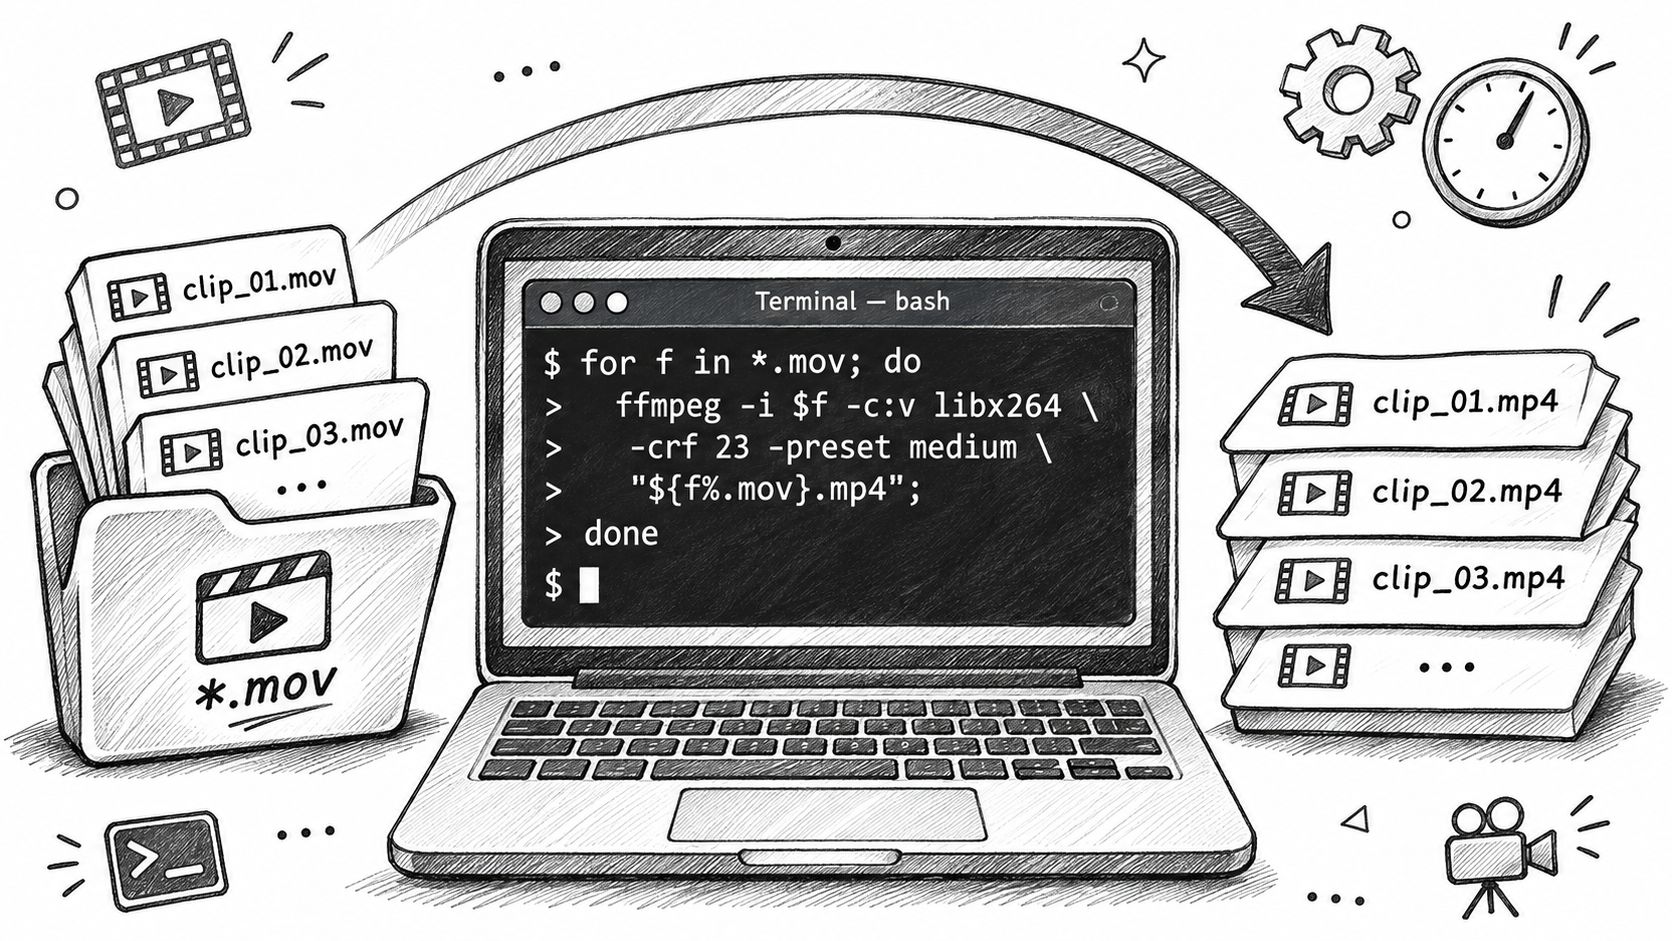
For macOS or Linux, this shell loop converts MOV files sequentially and writes a separate diagnostic log for each input:
for f in *.mov; do [ -f "$f" ] || continue; ffmpeg -nostdin -n -i "$f" -c:v libx264 -crf 23 -preset medium -pix_fmt yuv420p -c:a aac -b:a 128k -movflags +faststart "${f%.mov}.mp4" 2>"${f%.mov}.encode.log"; done
The same conversion pattern applies whether you're processing camera exports or assembling an automated media workflow.
Protect filenames and preserve diagnostics
${f%.mov} removes the trailing .mov extension before adding .mp4. Keep every filename expansion quoted, otherwise spaces and shell characters can split a path into unintended arguments.
-n prevents overwriting existing outputs, and -nostdin prevents FFmpeg from consuming interactive input during the batch. Redirecting stderr with 2> preserves warnings and progress without mixing separate jobs into one unreadable terminal history.
The PowerShell equivalent uses the same encoding arguments:
Get-ChildItem -File -Filter *.mov | ForEach-Object { ffmpeg -nostdin -n -i $_.FullName -c:v libx264 -crf 23 -preset medium -pix_fmt yuv420p -c:a aac -b:a 128k -movflags +faststart (Join-Path $_.DirectoryName ($_.BaseName + ".mp4")) 2> (Join-Path $_.DirectoryName ($_.BaseName + ".encode.log")) }
For a companion walkthrough of FFmpeg conversion, use the video below.
Resume deliberately and measure throughput
An existing output isn't necessarily a completed output. Before resuming an interrupted batch, remove or quarantine the unfinished file so -n doesn't preserve a broken result.
- Start sequentially: Let x264 use automatic threading before adding concurrent processes.
- Measure contention: Compare completed-job throughput, not just how many FFmpeg processes are running.
- Inspect diverse inputs: Spot-check outputs from different cameras, recording apps, and audio configurations.
Keep the logs until validation finishes. A batch that handles one camera's files correctly can still mishandle another source's timestamps or stream layout.
Choosing H.264 Over HEVC or AV1
Choose H.264 when playback reach matters most, especially for user uploads, public links, and audiences with unknown devices. Choose HEVC or AV1 when you can verify decoder support and the delivery savings justify additional encoding and validation work.
The 2025 Video Developer Report, summarized by Streaming Learning Center, found H.264 used by 79% of respondents, making it the most widely used codec in that surveyed streaming ecosystem. For live encoding, TVBEurope's coverage of Bitmovin's 2023–2024 report reported 86% using H.264/AVC, compared with 46% using H.265/HEVC.
| Priority | Practical starting choice | What to verify |
|---|---|---|
| Unknown or mixed devices | H.264 | Complete playback specification |
| Controlled HEVC-capable endpoints | HEVC | Browser, operating system, and hardware decoding |
| Modern endpoints with substantial delivery volume | Test AV1 | Encoding cost, decoder availability, and fallback requirements |
A separate production survey summarized by Streaming Media Blog reported H.264 in 84% of surveyed production environments, versus 17% for AV1. Its identified AV1 barriers included hardware decoding support, toolchain limitations, and encoding compute cost.
Adoption figures don't decide your architecture. Compare encoding time, queue capacity, stored renditions, delivery bandwidth, playback failures, and maintenance effort; this H.264 versus H.265 comparison helps frame that decision.
A smaller file isn't cheaper if you must also maintain another rendition to reach your audience. Validate each proposed codec on the devices you serve before publishing it.
RenderIO runs FFmpeg commands through a cloud REST API, including H.264 encoding with libx264, resizing, and batch conversion. Visit RenderIO to move your tested command into an automated workflow and receive processed files with duration, codec, resolution, and file-size metadata.