A 38 MB screen recording, an upload form capped at 25 MB, and a rejection that lands after the file has already crawled through a home connection. That's the usual starting point for FFmpeg compress MP4 work, and it's where most online recipes abandon you.
Almost every guide stops at -crf 23 and calls the job done. CRF is a quality target. It is not a size target. Point that command at two minutes of a talking head and you get a small file. Point the identical command at two minutes of confetti, fireworks and handheld camera shake and the output balloons, because the encoder is spending bits on every moving pixel it can find.
Size comes from bitrate multiplied by duration. Quality comes from CRF. Treating those as one dial is why so many compressions get rejected at the upload step, and it's the split this whole workflow hangs on.
Table of Contents
- Starting CRF and Preset Settings by Goal
- How to Hit an Exact File Size with Two-Pass Encoding
- Choosing H.264, H.265, VP9 or AV1 for Your File
- Scaling and Audio Cuts That Shrink Files Further
- Benchmark Quality and Size on a Test Clip
- Choose Your Compression Setup and Run It at Scale
Starting CRF and Preset Settings by Goal
The command that covers most jobs is one line:
ffmpeg -i input.mp4 -c:v libx264 -crf 23 -preset medium -c:a aac -b:a 128k output.mp4
Read it left to right and it's already a complete compression decision. libx264 picks H.264 for the video, CRF 23 sets the quality target, medium decides how hard the encoder works, and AAC at 128 kbps re-encodes the audio so it fits inside the same budget.
Renaming the file or remuxing into a different container changes nothing. The FFmpeg documentation is explicit that an MP4 is compressed primarily by re-encoding its streams with a selected codec, so a container swap leaves the underlying video data exactly as it was. Bytes only come off when the video is decoded and re-encoded at a lower bitrate.
Reading the CRF scale
CRF runs from 0 to 51 for 8-bit H.264. Zero is lossless, 23 is the default, and 51 is the lowest quality with the smallest expected file size. The documentation describes a practical range of roughly 17 to 28, where lower numbers allocate more bits and produce larger, higher-quality files.
Each step on that scale is a small quality shift. A jump of five or six points is a doubling or halving of the data the encoder can spend, which is why 18 and 28 look like the same setting on paper and produce files that differ by several times.
Presets trade encoding time for bytes
-preset doesn't change what the frame looks like at a fixed CRF. It changes how many candidate decisions FFmpeg evaluates to reach that quality. Slower presets generally improve compression efficiency, which the same manual describes as better quality at the same file size or a smaller file at comparable quality. veryfast finishes a short clip in seconds and leaves bytes on the table. slow takes longer and hands a chunk of them back.
| Goal | CRF | Preset | Expected result |
|---|---|---|---|
| Quality-first archive | 18 | slow | Near visually lossless; largest file of these settings |
| Default share file | 23 | medium | FFmpeg default; balanced for most content |
| Smaller upload | 26 | medium | Softer fine detail; clearly smaller file |
| Smallest watchable | 28 | slow | Smallest output that stays watchable; check dark and fast scenes |
| Quick draft pass | 23 | veryfast | Fastest encode; larger file than slow at the same CRF |
A preset is a time budget, not a quality budget. At the same CRF,
slowandveryfastlook nearly identical and differ in megabytes.
Three checks on one clip
Encode one representative clip before you commit a batch to a setting, then verify three things. First, watch a dark scene and a fast pan at full size, because those two shots break first. Second, confirm the file fits your goal, since CRF gives no guarantee. Third, time the encode and multiply by your queue length; if 40 files at slow won't finish before the deadline, drop to medium and accept the extra megabytes.
If any of the three fails, change one variable and rerun. Changing CRF and preset together tells you nothing about which one caused the difference.
How to Hit an Exact File Size with Two-Pass Encoding
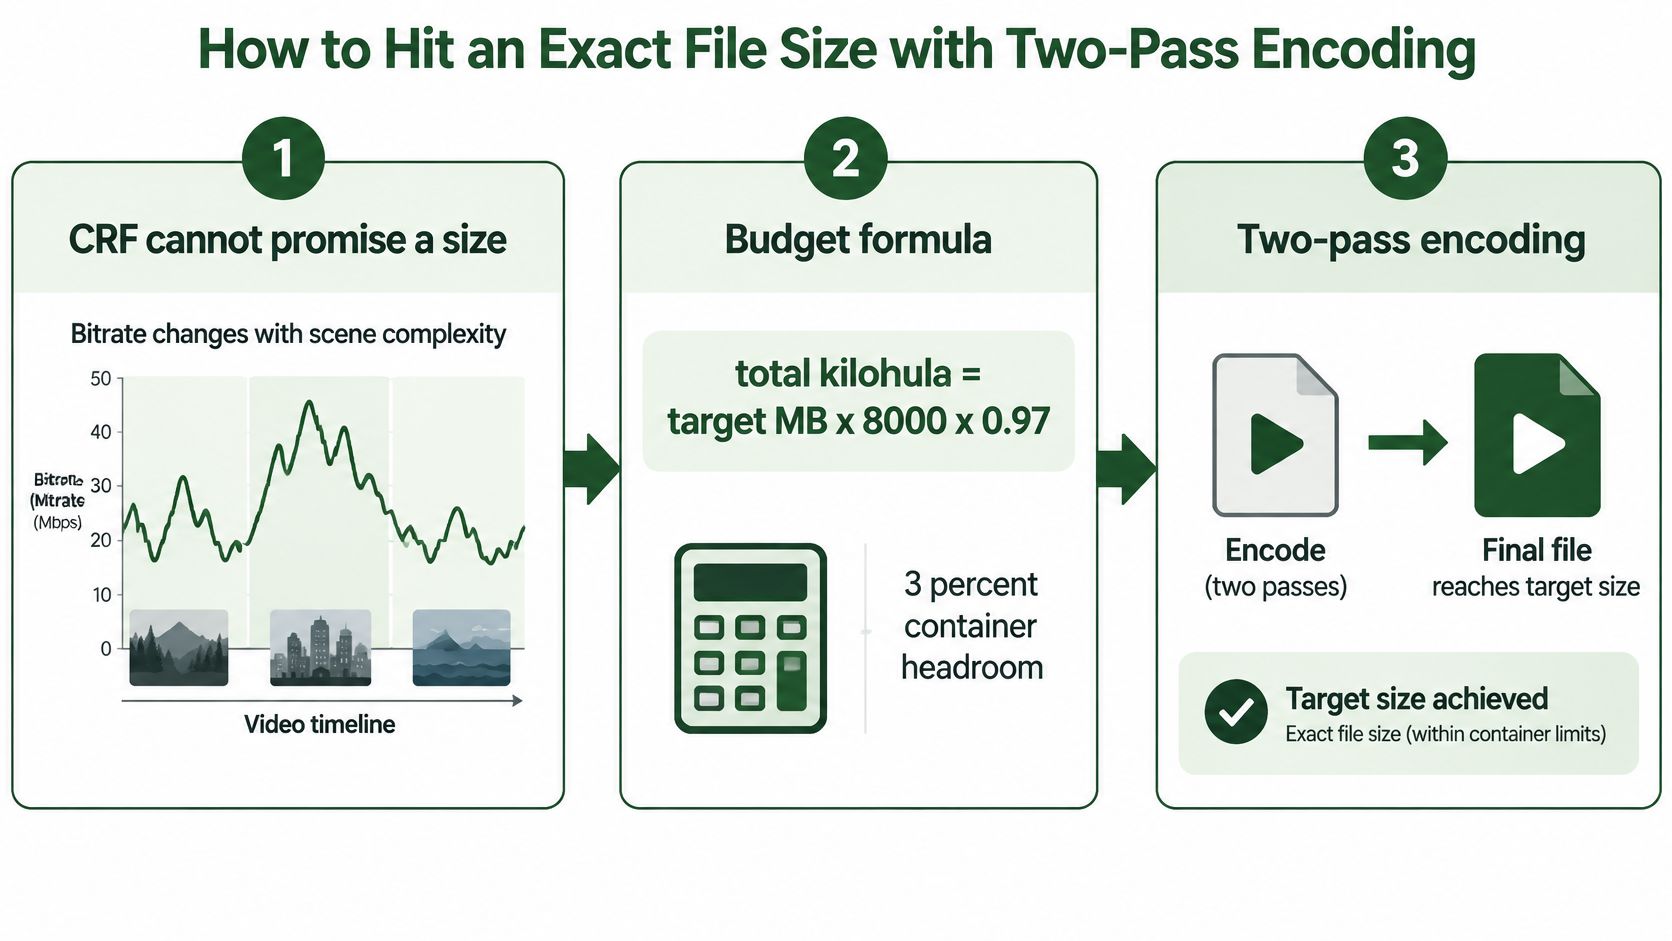
A hard ceiling of 25 MB on a 60-second clip is solvable, just not with CRF. CRF targets perceptual quality, so the resulting bitrate and file size rise and fall with scene complexity. The FFmpeg H.264 encoding guide draws that distinction and recommends two-pass average-bitrate encoding when the target file size or bitrate is what matters. That's the situation for every upload form, ad platform and API that rejects on megabytes rather than on quality.
The three moves below are the whole method. Bitrate moves with content, the budget formula pins a number, and two passes spend that number across the clip.
The budget formula
Start with the ceiling in megabytes and the duration in seconds, then keep 3 percent back for container overhead:
total kilobits = target MB × 8000 × 0.97 ÷ duration in seconds
Subtract the audio bitrate and what remains is your video bitrate. Audio counts. A 128 kbps track over ten minutes is a little under 10 MB on its own, which can be a third of a small ceiling.
| Target size | Duration | Audio bitrate | Video bitrate |
|---|---|---|---|
| 10 MB | 60 seconds | 128 kbps | about 1165 kbps |
| 25 MB | 60 seconds | 128 kbps | about 3105 kbps |
| 8 MB | 30 seconds | 128 kbps | about 1941 kbps |
| 50 MB | 5 minutes | 128 kbps | about 1165 kbps |
| 100 MB | 10 minutes | 128 kbps | about 1165 kbps |
Notice the pattern in the last three rows: the bitrate is identical because the allowance per second is identical. A longer clip with a proportionally larger ceiling gives you no extra quality, only more runtime.
Pass one and pass two in order
- Measure the duration.
ffprobe -v error -show_entries format=duration -of default=nw=1:nk=1 input.mp4returns seconds, and you need that number before anything else. - Fix the audio bitrate. 128k stereo AAC is the standard choice for speech and general content, so the video gets the rest.
- Run pass one, video only.
ffmpeg -y -i input.mp4 -c:v libx264 -b:v 3100k -pass 1 -an -f null /dev/nullon macOS or Linux, withNULin place of/dev/nullon Windows.-anskips audio because this pass only builds a complexity map. - Run pass two, and mux audio.
ffmpeg -i input.mp4 -c:v libx264 -b:v 3100k -pass 2 -c:a aac -b:a 128k output.mp4reuses the analysis to spread bits across the whole clip instead of guessing per scene. - Verify and rerun if needed.
ls -lh output.mp4or a quickffprobeon the result tells you how close you landed. Aim slightly under the ceiling; most platforms reject at the byte, not at the impression.
Pass one writes ffmpeg2pass-0.log into the working directory and pass two reads it. The file remains afterward, so delete it between jobs or set -passlogfile per job; otherwise, a stale log from a different clip may skew the second pass.
When constrained CRF beats two-pass
Two-pass costs a second full decode and gives you size certainty but not quality certainty. On a flat, low-motion clip the bits go unused and the file hits the ceiling with room to spare in quality terms. On a busy clip the encoder is forced to starve the hard scenes.
When a platform caps peaks rather than total bytes, constrained CRF is the better tool:
ffmpeg -i input.mp4 -c:v libx264 -crf 23 -maxrate 3100k -bufsize 6200k -c:a aac -b:a 128k output.mp4
-maxrate caps the spikes and -bufsize, usually about twice the cap, sets how strictly that cap is enforced. The encoder still targets CRF 23, so easy scenes come in well under the ceiling and hard scenes are held to the limit.
Pick constrained CRF when the platform limits peaks but quality should stay the target. Pick two-pass when the finished megabytes must land under a hard number.
The contrarian point is worth stating plainly: the smallest file is rarely the best result. A clip squeezed until dark scenes turn blocky will be re-uploaded, re-encoded or rejected by a human anyway, and you've spent the processing time twice.
Choosing H.264, H.265, VP9 or AV1 for Your File
Start with the destination, not the codec. H.264 through libx264 plays on almost every device and browser, so it's the default for anything leaving your machine without a known player at the other end.
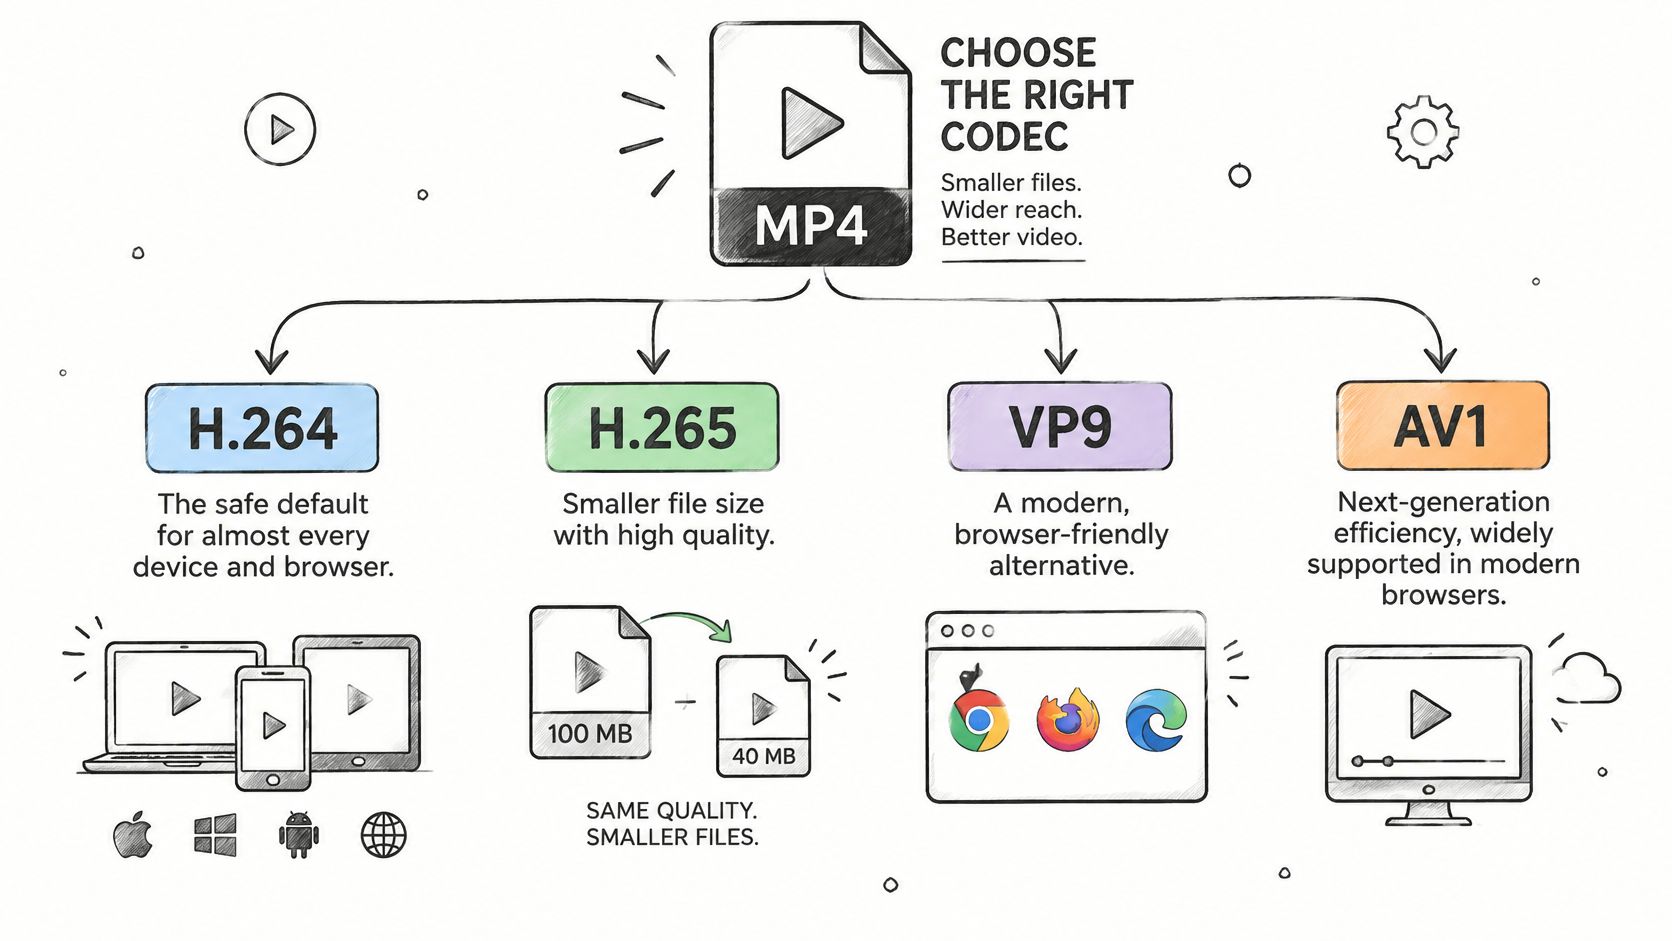
| Codec | FFmpeg encoder | Size compared with H.264 | Playback support |
|---|---|---|---|
| H.264 | libx264 | Baseline | Almost every device and browser |
| H.265 | libx265 | About 25–50% smaller at similar quality | Newer phones, TVs and Apple devices; older devices may refuse it |
| VP9 | libvpx-vp9 | Smaller at matched quality, so measure on your own clip | Most web browsers; needs -crf together with -b:v 0 |
| AV1 | libsvtav1 or libaom-av1 | Smallest of the four at matched quality | Growing support; check the target platform first |
H.265 is the practical upgrade when you control playback. FFmpeg's H.265 encoding guidance reports approximately 25–50% bitrate savings compared with H.264 at similar visual quality, which on a fixed ceiling buys either a smaller file or visibly better hard scenes.
ffmpeg -i input.mp4 -c:v libx265 -crf 28 -preset medium -tag:v hvc1 -c:a aac -b:a 128k output.mp4
Two details matter in that line. -tag:v hvc1 keeps Apple players happy, and libx265 quality starts around CRF 28 rather than H.264's 23, because the scales aren't interchangeable.
AV1 and VP9 are delivery decisions
AV1 through libsvtav1 makes sense when a clip is encoded once and served thousands of times, where the slow encode is amortized. For a one-off upload it's usually the wrong trade. VP9 suits web delivery, and its constant-quality mode needs both -crf and -b:v 0, so a generic H.264 two-pass recipe copied across won't behave the same way. Before committing, check video codec support across players and browsers for the devices your audience uses.
If the output is headed for a social feed instead of a file host, the same reasoning applies to repurposing YouTube videos for Instagram Reels, where the platform re-encodes whatever you hand it and a smaller, cleaner source helps more than a bleeding-edge codec.
My rule: test H.265 for an iPhone and modern TV audience, keep H.264 as the default for unknown devices, and treat AV1 as an infrastructure decision rather than a per-file one.
Scaling and Audio Cuts That Shrink Files Further
Resolution is the biggest lever in the entire toolkit, and it acts before CRF gets a say. Going from 1920x1080 to 1280x720 leaves about 44 percent of the pixels, so the encoder has roughly half the detail to describe at the same quality target. The file typically drops near half.
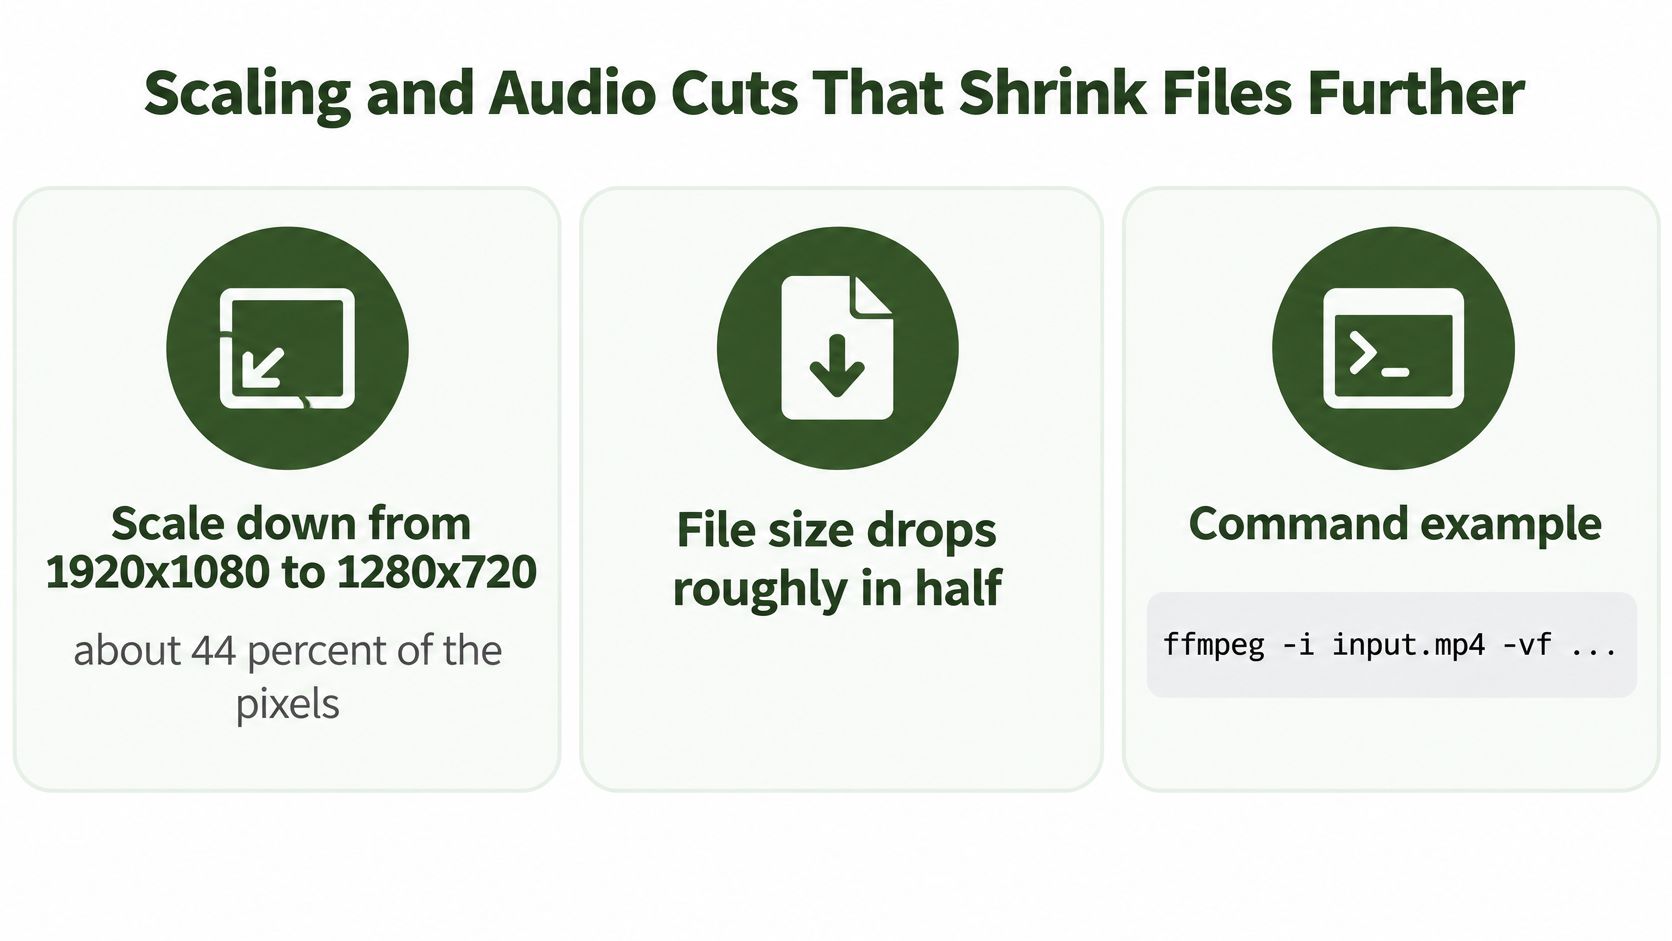
ffmpeg -i input.mp4 -vf scale=-2:720 -c:v libx264 -crf 23 -c:a aac -b:a 128k output.mp4
The -2 asks FFmpeg to compute the width from the aspect ratio and round it to an even number, which H.264 requires. Set the height to the delivery size and let the width follow.
Never scale up. Encoding a 480p source at 1080p adds no detail, only bytes, and the encoder spends extra bitrate describing upscaled blur. If the source is already smaller than your target, keep the source dimensions.
Audio settings worth changing
Audio is usually the easiest place to recover a few megabytes without touching the picture. AAC at 128k stereo is enough for speech and general content, 192k suits music where the track is the point, and -ac 1 down-mixes a voice-only recording to mono for another halving of the audio stream. Use -c:a copy when the source audio is already AAC and small enough, since re-encoding only costs quality at that point.
For a clip that's been sitting at 256k or 320k audio, dropping to 128k is nearly invisible and often saves more than a CRF step does.
Shortcuts that pay off
- Strip unused tracks.
-map 0:v -map 0:a:0keeps the first video and first audio stream and drops commentary, alternate languages and embedded subtitle data you never intended to ship. - Trim before you encode.
-ssand-toahead of the input cut the work as well as the runtime, so you're not compressing five minutes to throw away four. - Add
-movflags +faststartso the moov atom moves to the front of the file and web playback starts before the whole thing downloads. - Check the source bitrate first. If a 1080p file already sits well under 2000 kbps, there's little left to take without visible damage.
Here's the trade-off in one line: scaling destroys detail permanently. Decide the output dimensions before the first encode, because no CRF value brings back what the resampler threw away.
For the full set of scaling flags and filter syntax, the guide to resizing video with FFmpeg covers the cases where fixed height, fixed width or a bounding box is the right call.
Benchmark Quality and Size on a Test Clip
Pick one 30-second clip that contains everything that breaks encoders: a dark scene, fast motion, on-screen text and a face. That single clip tells you more than a dozen test encodes of a static slide.
Run three encodes at CRF 20, 23 and 26 with the same preset and the same audio settings, changing nothing else:
ffmpeg -i test.mp4 -c:v libx264 -crf 20 -preset medium -c:a aac -b:a 128k test_crf20.mp4
Repeat for 23 and 26, then compare with ls -lh test_crf*.mp4. The sizes tell you the spread. Now measure how much quality each step costs, comparing every output against the original source:
ffmpeg -i test_crf23.mp4 -i test.mp4 -lavfi ssim -f null -
SSIM reports a score where values close to 1.0 mean the output is very close to the source. Look for the point on the curve where the file size falls steeply but the score drops off a cliff. That knee is your setting, and it's different for animation, screen capture and camera footage.
Benchmark once per content type, not once per file. Slow presets can take many times longer than
medium, and paying that on every clip in a batch buys nothing you didn't already measure.
Problems and fixes
- Output larger than the source. The source was already compressed, so you're re-encoding artefacts. Raise CRF several points or lower the resolution before encoding again.
- Blocky dark scenes. Dark gradients get starved first. Lower CRF by two or three points, or switch to a slower preset, which handles low-contrast areas better at the same CRF.
- Audio drifting out of sync. Stream copying audio into a re-encoded video can shift timestamps on odd sources. Re-encode the audio instead of using
-c:a copy. - File fits but looks soft. You hit the ceiling with too little bitrate for the resolution. Scale down one step; 720p at a healthy bitrate beats 1080p at a starving one.
Write the winning CRF, preset, scale filter and audio settings into a one-line template. That template is what the batch runs, and it's the only thing you change when a platform shifts its limit.
Automating this comparison across many clips is where video testing automation earns its keep, since the SSIM loop is exactly the kind of repetitive check scripts handle better than eyes.
Choose Your Compression Setup and Run It at Scale
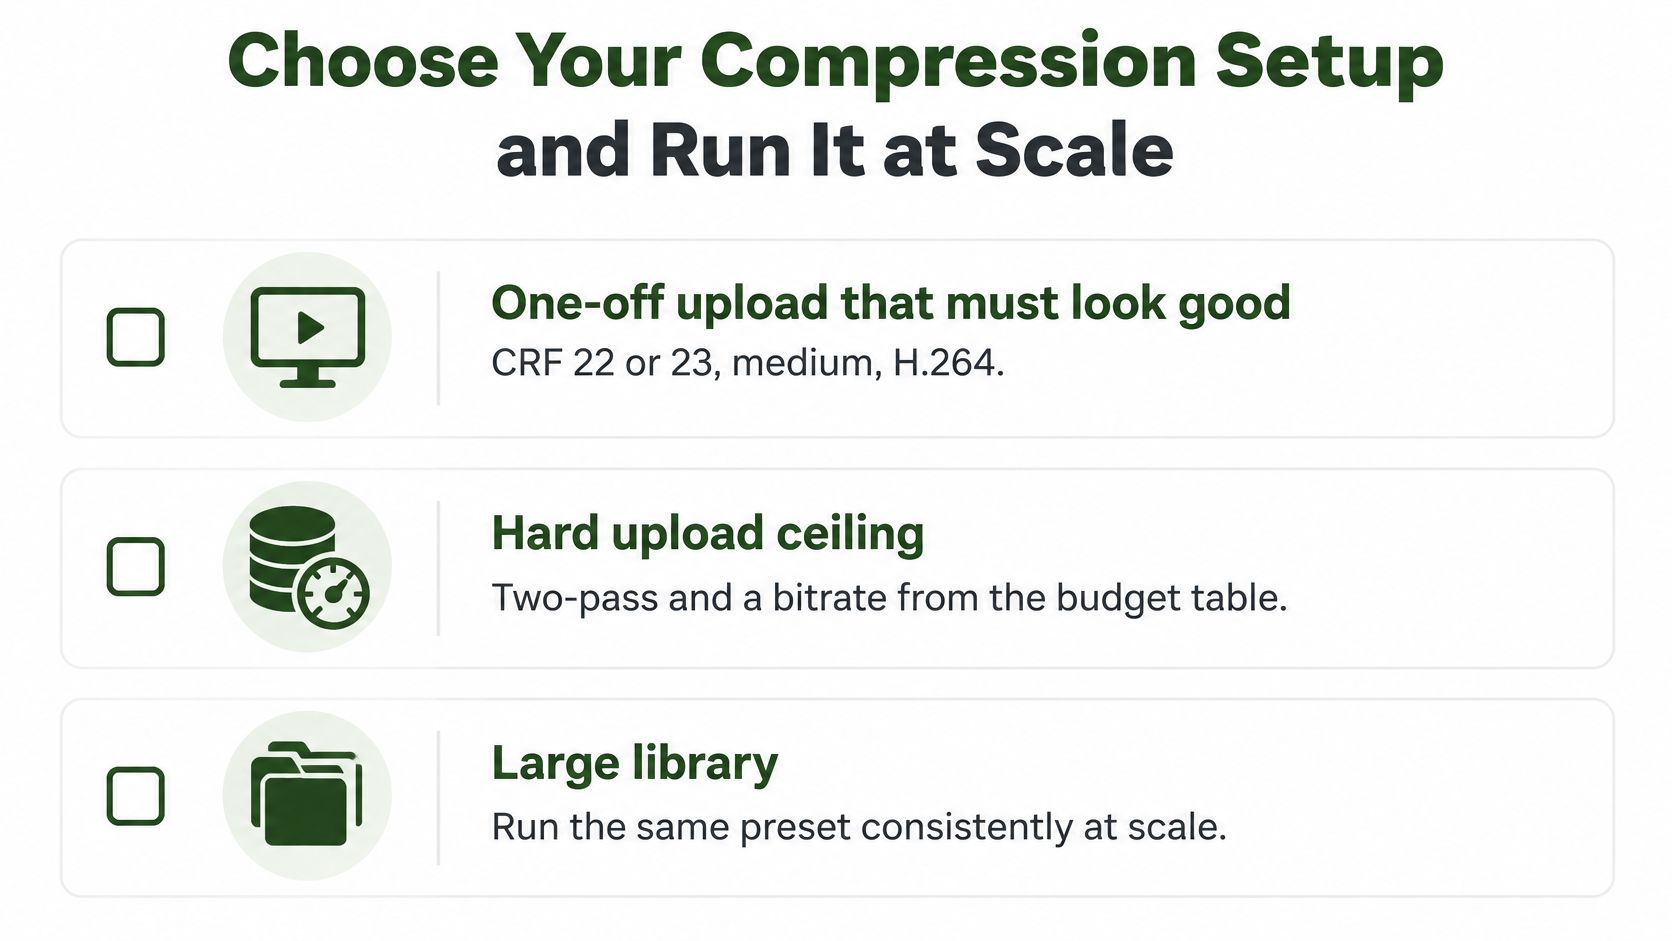
Four situations cover nearly every job. Match the row, run the test clip, then commit.
Match the setup to the job
- A one-off upload that must look good. CRF 22 or 23 with
mediumand H.264. Simple, compatible, and good enough that nobody asks what happened to the quality. - A hard upload ceiling. Two-pass with the bitrate from the budget table. Verify the output with
ls -lhbefore it goes anywhere near a form. - A large library headed for iPhones and TVs. Encode one file with
libx265at CRF 28 and check playback on the oldest device in the audience before converting the rest. - Short-form clips across many accounts. One fixed template, applied identically, so every output weighs roughly the same and no single platform rejects a file.
What running it at volume actually requires
A shell loop over a directory handles a few dozen files on your own machine. for f in *.mp4; do ffmpeg -y -i "$f" -c:v libx264 -crf 23 -preset medium -c:a aac -b:a 128k "out_$f"; done runs unattended overnight and logs nothing useful when one file fails, which is the part that bites.
Past that point the queue becomes the problem. RenderIO takes an FFmpeg 7.x command at a REST endpoint, downloads your inputs, runs FFmpeg in an isolated container and uploads the outputs. The call returns a command_id immediately while the processing runs in the background, so you track progress by polling or webhook instead of holding a connection open. One API call with one FFmpeg command counts as one command regardless of file size, which makes the per-file cost of a 2,000-clip backfill predictable before you start it.
The migration itself is mostly mechanical: the flags you tested locally are the flags you send, including -crf, -b:v, -pass, -vf scale and -movflags +faststart.
Lock the template and log the results
Pick the row that matches your destination, run the SSIM comparison on one representative clip, and write the winning flags down. Then run the batch, capture the output size of every file, and keep that log next to the template. When a platform changes its ceiling or a new device fails to play H.265, the log tells you exactly which decision to revisit instead of sending you back to the beginning.
RenderIO runs your FFmpeg compress MP4 commands on cloud infrastructure, so the two-pass jobs and H.265 tests above don't need a machine of your own sitting idle between batches. Send the command you already validated, track the command_id, and download outputs with their duration, codec, resolution and file size attached. Start with a free trial at RenderIO and run your benchmark clip before you commit the full library.